Five Steps to an organized pantry
The Purge
Take everything out! I mean EVERYTHING! Start pulling out food, storage, cleaning goods, pet food anything you store in your pantry needs to come out. As you pull everything out, place similar items together. Start up piles that make sense. For example: all of your sweets, pasta, cans, breakfast, snacks, dinners need to be sperated out. As you look at each item, check for expiration dates and ask yourself: "Do we actually eat this?" Do not get discouraged as you throw out food that went to waste... This is your chance to start over and stop wasting food. After this process, you will cautiously buy food to fill your pantry. Look at every food item as an object that will soon be taking up space. Ask yourself: "is it worth keeping?" Can you assure that it will get used?
The Containers
Count how many piles of sorted items that you have. Number of piles = number of bins you need to purchase. Time to go shopping! Let me walk you through how I shop for my clients' spaces!
The Shopping
Choosing the right storage for your space. You need to ask yourself a couple of questions before you go shopping.
- What is my budget?
- What is my style?
- What is my space like? (Deep shelves, tall cabinets, pull out drawers, door space?)
- Have I measured my space?
- Am I willing to take items out of their containers when I get home from the store? (this process is called decanting)
- How much upkeep do I want to do?
I am going to link some of my favorite items for some of the categories below!
For a budget conscious pantry
For a deep pantry
For a tall pantry
For a pantry with unused door space
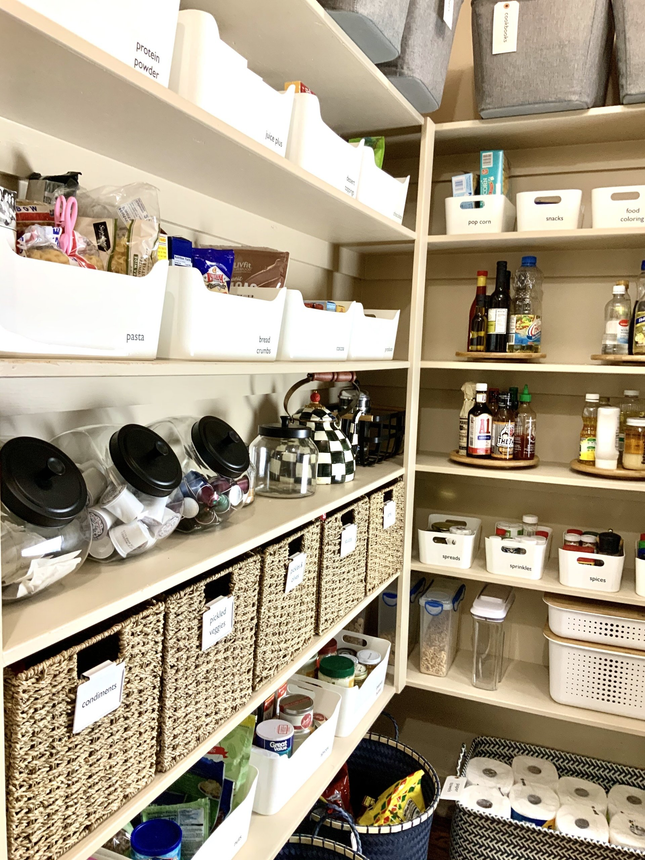
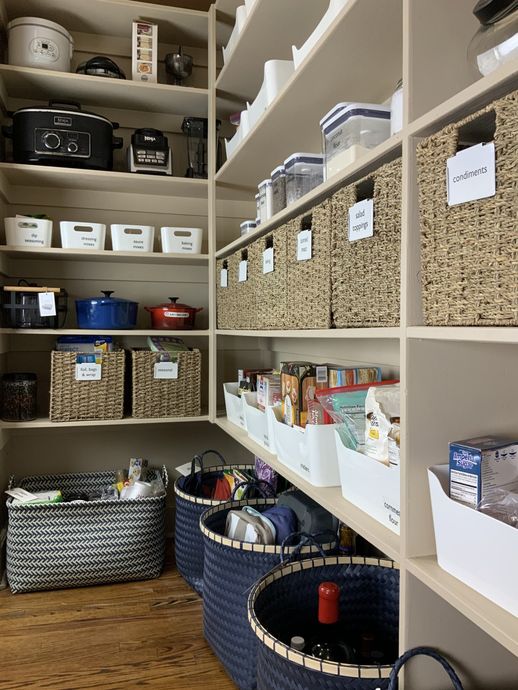
The Organizing
Once you have your organizing products that fit your needs and your space, start placing them in your totally empty pantry! Make sure you love the layout and the way it will function for you before you put your food back in. Play around! This part is like a puzzle! When your organizing products are in place, start filling up your containers with your food and pantry items. Think about your daily routines and what you reach for the most.
Finishing Touches
You've purged, sorted, meausred, shopped and organized your space! You are pretty much finished! The last step is to label! The key to keeping everything in its place for a long time is labeling everything! This way whoever goes into your pantry looking for something or trying to put something away will know exactly where it goes, and
they become a partner in keeping the pantry exactly the way you organized it!
Don't skip this step! Here are some label makers below that I use in my clients spaces!
I hope these tips have helped you! These are great tips for those who prefer to do things themselves. If getting organized is overwhelming for you, look into hiring a professional organizer. Follow my IG to see more of what I do and come along with me to client spaces!
Happy Organizing,
Katy Beth McGahey


